
Message Window Configuration
Message Filter
Section titled “Message Filter”Filters for message display can be configured by selecting CAN –> Message Window –> Configure and by selecting Filter tab. This will show list of filters configured for Message Display.
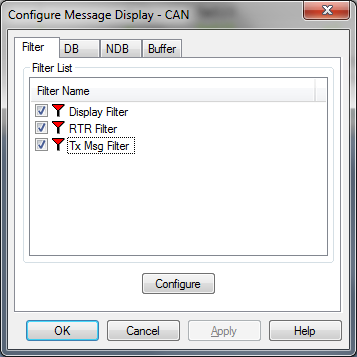 ### Display Filter
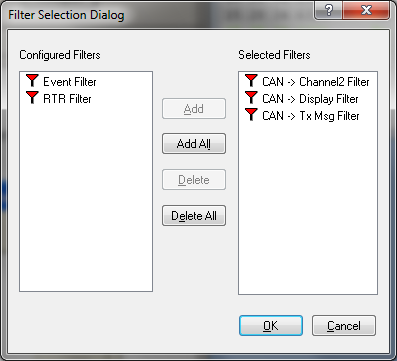
To configure display filter list select Configure button which will list available filters and selected filters.
 ### Message Coloring
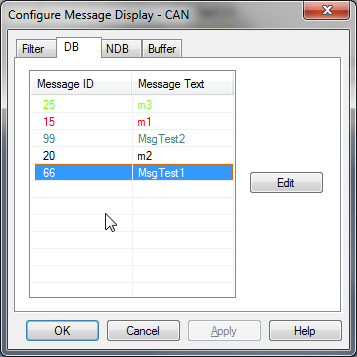
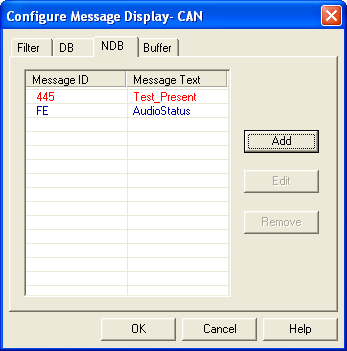
User can configure the color with which the message will be displayed and associate a textual description to message.
By default all messages are displayed in black color and the message ID itself as the associated text. For the database message user can only edit the color.
 ### Adding message attribute
To configure a message display option, please follow the steps given below SelectCAN –> Message Window –> Configure Dialog box Configure Message Display as in above figure will be displayed Click on Add button One more dialog box Add Message Display Attributes as shown below will pop up.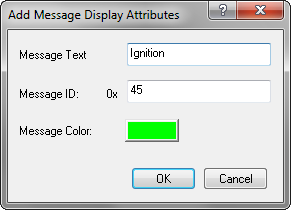 Enter the message ID and Message text Click on the colored button to select a color, This click pops up a color palette as shown above. Select a suitable color Select OK button to confirm
Subsequent reception / transmission of the message that has been configured will be displayed with associated text & color.### Editing a message attribute
To edit the message attributes please follow the steps given below Select CAN –> Message Window –> Configure. Dialog box Configure Message Display will be displayed. Select the message entry to be edited from the message list. Either click on Edit button or double click on the selected entry. One more dialog box Edit Message Attributes will pop up. Change the required Message attributes. Select OK buttons to confirm.
Subsequent reception/transmission of the message that has been configured will be displayed with associated text & color.### Deleting message display attribute
To delete an entry from the Message List follow the steps given below Select CAN –> Message Window –> Configure. A dialog box will pop up. Select the message entry to be deleted from the message entry list. Click on Remove button. A delete confirmation message box will be displayed. Select Yes to confirm deletion. Select OK button to confirm the modification of entries.
On subsequent reception/transmission, the message will be displayed in black color.### Display Buffer size & Update Rate configuration
To configure Append and overwrite buffer size, follow the steps given below Select CAN –> Message Window –> Configure. A dialog box will pop up. Select the Buffer page.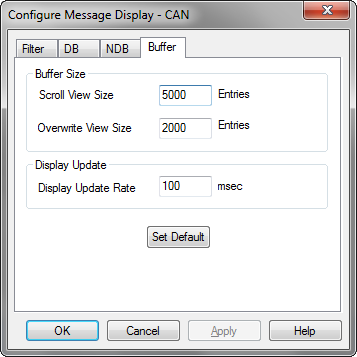 The buffer size can be from 200 to 32500 display entries. The display update rate can be from 50 to 20000 milliseconds. Set entries for Append buffer and overwrite buffer. Set display update rate. Select OK button to confirm the modification of entries. Select Set Default button to set the default values.> Note: In overwrite mode this option will be disabled to avoid rolling of selection. Selection will be update only during display update.
Authoritative source: BUSMASTER DITA help source CAN_Message_Window_Configuration.dita, compiled into BUSMASTER.CHM with the application.